
With a variety of wristband options to choose from, what sets JetBands® apart and makes them such an ideal choice for wristband wearers? For many, it’s the fact that they can be designed by anyone and everyone, no matter your level of expertise or familiarity with advanced design programs. For this reason, we work closely with those who utilize our JetBands® to ensure our Online Designer tool - the template used to perfect the wristband’s look and feel prior to printing - offers a multitude of capabilities and remains, above all, user-friendly.
Recently, we learned there are a few website features you want to know more about. As such, we’ve compiled some quick and easy-to-follow instructions to help you get the most from your time crafting and curating your ideal JetBands® bracelets. Read on to learn more.
How to save your design for later use
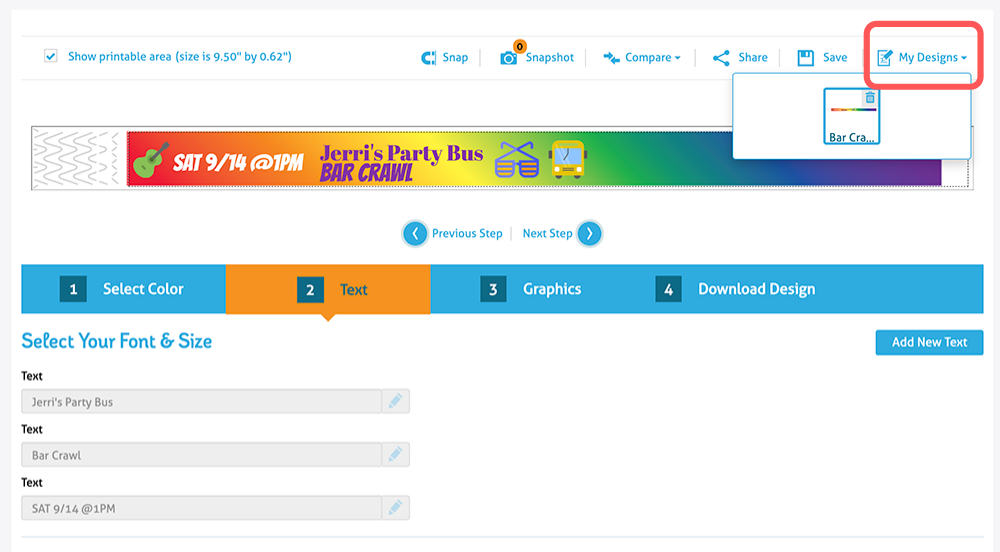
At JetBands.com, we offer countless background themes, fonts, and clipart options to help you build custom wristband designs unique to you. Oftentimes, once you settle on your ideal band look, you may intend on using that design over and over again. For this reason, we allow you to store your finished designs as templates to use for future wristband needs.
For example, let’s say you host a party bus bar crawl every month and need guests attending to identify themselves. Using our Online Designer tool, you create your personalized wristband design you plan to utilize at every event. However, you also need your bands to contain the relevant date and time of that month’s event. Luckily, your JetBands® design can be saved and accessed any time you need!
To get started, create a JetBands® account by clicking “Sign In” at the top of the JetBands® homepage. Take a few seconds to fill in your account details, hit the “REGISTER” button, and voila- your JetBands® account is complete! Proceed to the Online Designer tool and follow steps 1-3 to select the color/theme, text, and graphic elements for your wrist bracelets.
Once you are satisfied with the design (before proceeding to step 4), click the “Save” feature from the Online Designer tool taskbar. Type in a name that will help you find this design quickly in the future, then hit the “SAVE” button to store permanently. Now the next time you wish to use this design, select the “My Designs” feature from the taskbar and locate your preferred style. Once you hit “Apply,” make any revisions/edits, then proceed to the final step of downloading your design for printing.
How to scale or adjust your graphic after uploading
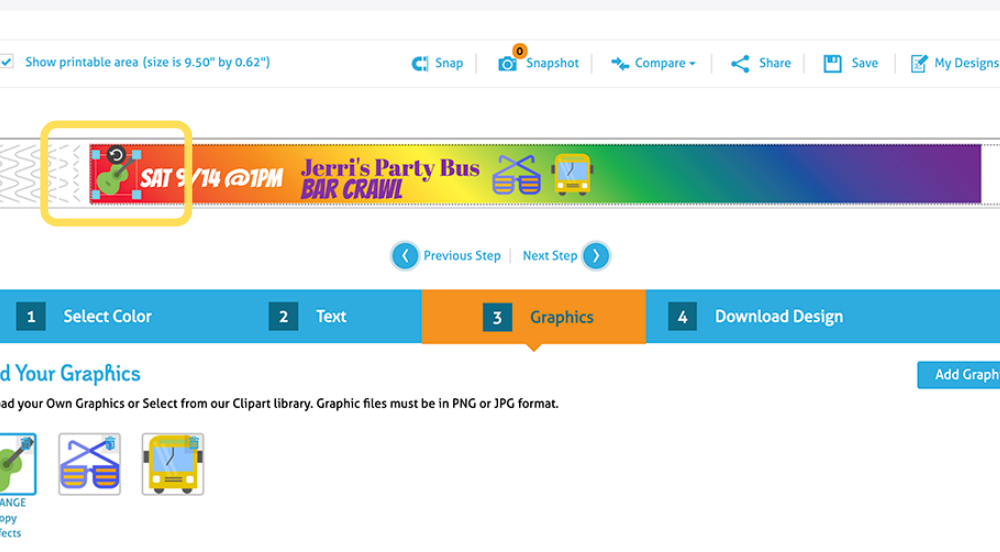
Achieving the perfect size and position of your graphic elements is just as important as the graphic itself, so we’re here to help make this aspect of the design process that much easier to navigate.
Adding a graphic from our clipart library or your computer takes place in step 3 of the Online Designer tool. Once you upload your graphic, it will display via the proof onscreen with four blue squares surrounding it. These squares can be pulled in or out to increase/decrease the size of the graphic. To move the location of the graphic, click the image and drag anywhere along the band to position where you see fit.
Once the graphic is sized and situated where you would like, proceed to step 4 to download the design and print.
What is a "placeholder image" and How do i move past the error message asking me to remove it?
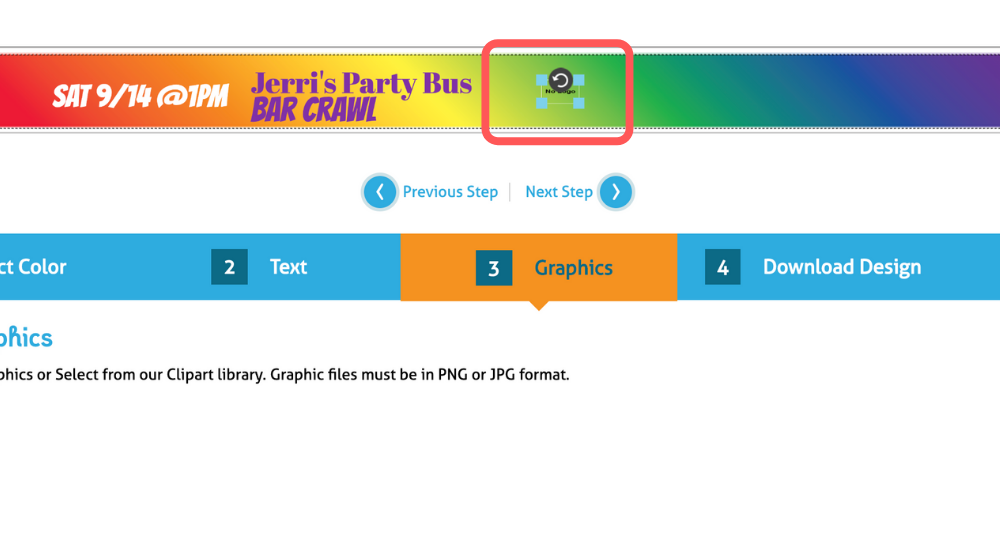
One of the most commonly asked questions we receive is, what is a placeholder image? Trust us - we understand the confusion and are here to clear it up!
Step 3 in the Online Designer tool is where you will upload either an image from our clipart library or your own graphic/logo from your computer. Upon clicking the “Add Graphic” button, the Online Designer tool will insert a ‘placeholder image’ onto your JetBands® design that will remain there until you click “CHANGE” under the “No Logo” box. Clicking “CHANGE” will initiate the options to add clipart or personal imagery.
If you do not add a graphic to your design and instead attempt to proceed to step 4, you will receive an error message asking you to remove the placeholder image before continuing:
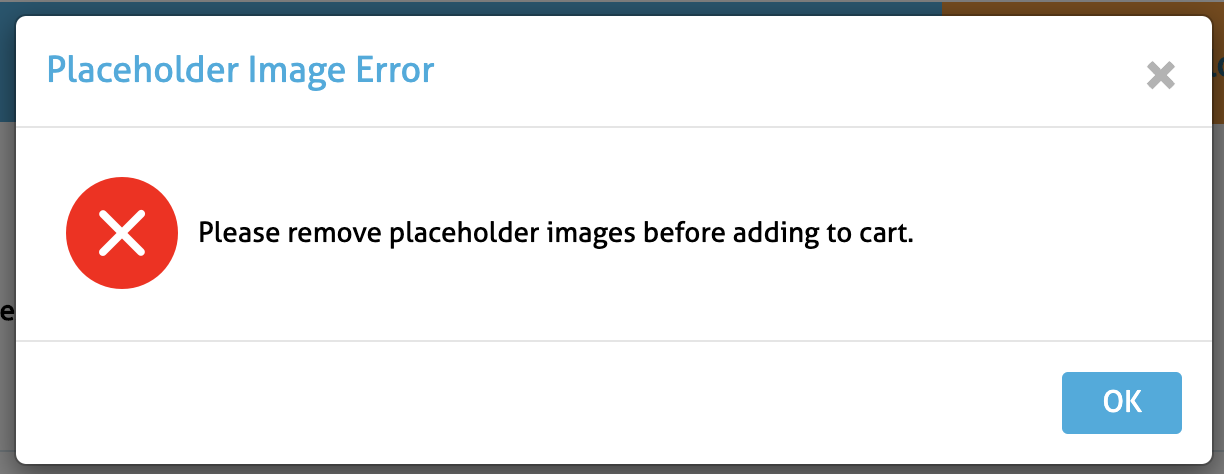
This message appears because the “Add Graphic” button was activated but nothing was in fact added, therefore the system thinks this was an accident. This can remedied two ways, each depending upon what you’d ultimately like to do with your wristband design.
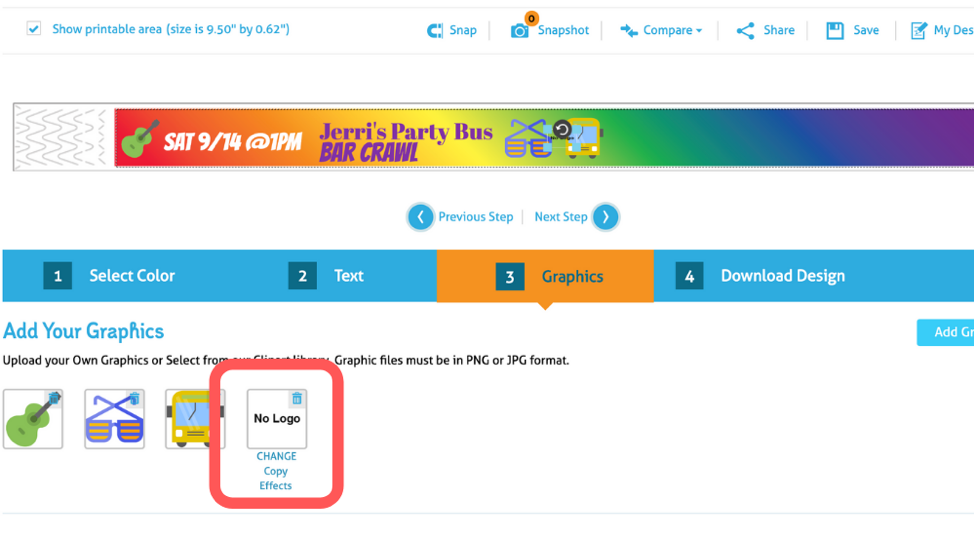
If you are intending to add an image to your wristband, simply return to step 3 “Graphics,” click the “Back” button located next to the “Add Graphic” button, and follow the original sequence for adding an image onto the wristband (i.e. click “Change” under the “No Logo” box to initiate the options for clipart or personal imagery). If you decide you do not want to add a graphic after all, click the trash can icon located in the upper right-hand corner of the “No Logo” box. A message will appear onscreen:
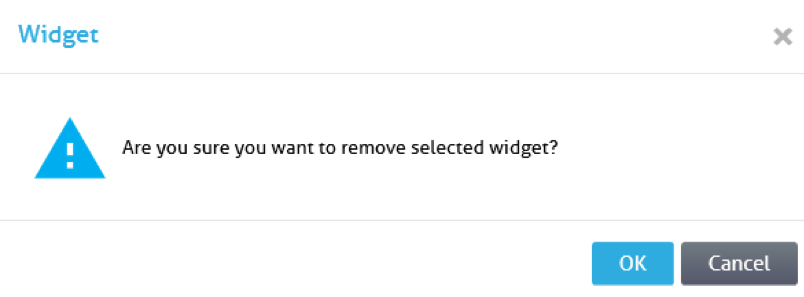
Click ‘OK’ to remove the placeholder image, then continue on to step 4.
we strive to ensure jetbands® and the online designer tool are easy for anyone to use
We strive to ensure our JetBands® and the Online Designer tool are comfortable solutions for anyone to use. Feel free to send us an email at info@jetbands.com with any questions you may have so we can follow-up and elaborate with additional tricks and tips in future blogs. In the meantime, be sure to follow us on Facebook, Instagram, and Pinterest for ideas on how to make a splash with your JetBands® bracelets this summer!